

A drawing tablet could also make it easier for someone to use digital illustration, image editing, graphics, and handwriting. Nonetheless, when using a drawing tablet for the first time, there might be some difficulties with connection, installation of the right drivers, and configuration of the monitor. In case you need to learn how to connect drawing tablet to PC, first identify what type of drawing tablet it is.
In general, conventional drawing tablets are connected to a computer using USB ports or other interfaces that are compatible and need to have a proper driver. The best standalone drawing tablets work on their own with compatible creative applications, whereas some tablets have the capability to be used in computer-connected mode. This information will guide you to select the right configuration.
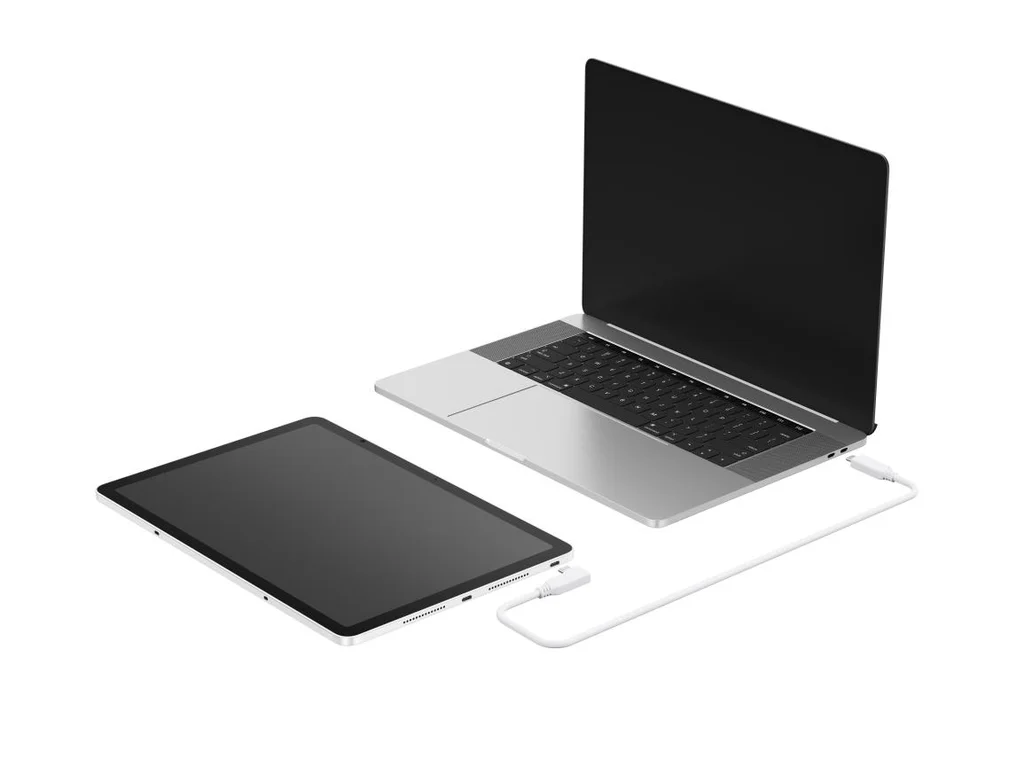
1. Check Your Drawing Tablet and PC Compatibility
Ensure that you understand the specifications of the device such as the interface, operating systems it works with, and the features it supports.
Identify Your Tablet Type
Pen tablets do not come with a screen. You make drawings using them but view the drawings on the computer screen. These devices are normally good for beginners, digital artists, and photo editors.
Pen displays feature a screen through which you can make drawings right on the image. Traditional pen displays typically need to be connected to a computer to run desktop applications.
Standalone drawing tablets have their own operating systems as well as hardware, which enable them to function independently of a computer and run drawing programs compatible with them.
Check Available Ports and System Requirements
Ensure that your computer has a compatible USB-A, USB-C, HDMI, or any other necessary ports. If your device requires USB-C for displaying, ensure that your computer’s port supports display functions rather than data transfer or charging.
You will need to check the operating system requirements of the device from its manufacturer as well as its power requirements.
2. How to Connect Drawing Tablet to PC Step by Step
For most traditional tablets, the setup process involves connecting the hardware, installing the driver, configuring the workspace, and testing the pen.
Step 1: Connect the Tablet to Your Computer
Always use the correct cable that comes with your device if possible. To connect a pen tablet to a computer, plug the USB cable into your computer.
Some pen displays can be connected with either data or video cables. There are some devices which can be connected to the computer with just one multi-purpose USB-C cable, while some others may require separate USB and HDMI connections.
If your device is not being detected, then try using another compatible USB port first.
Step 2: Install the Correct Driver
Go to the website of the company and download the driver for your particular model and version of your operating system. Proper driver installation will allow you to take advantage of pressure sensitivity, button configuration, and other functions.
Install the driver according to the guidelines provided and then restart your computer if necessary. Open the driver panel of your tablet and see if it is recognized by the driver.
If you have used another tablet from another company, the existing driver might prevent your new tablet from working properly.
Step 3: Configure the Display and Working Area
For a pen tablet without a display screen, set up the active area such that the movements of the pen will map accurately to your desired monitor. In the case of more than one display screen, choose the right screen from the driver settings.
For a pen screen, go to your computer’s screen settings and check whether the extra screen has been detected. Depending on your preferences, choose extended or mirror screen settings.
Step 4: Test the Pen and Drawing Software
Open the driver control panel to test the functionality of the cursor movement, pressure sensitivity, tilt recognition, and pen buttons where available. Then open a compatible application like Photoshop or Clip Studio Paint and draw on a test page.
Draw several lines with different pressures applied. If the thickness of the lines changes, then pressure sensitivity is probably working. If the pen controls the cursor movement but no pressure sensitivity is detected, ensure you have the right driver for the application.
3. How to Connect Different Types of Drawing Tablets
The exact process for how to connect drawing tablet to pc depends on the device’s design and supported connection modes.
Connecting a Pen Tablet Without a Screen
The common way for a regular pen tablet to be connected is via the USB port. Once the driver is installed, users can control the cursor and create artwork with the pen in any compatible desktop application.
Since the image is shown on the monitor screen, there is no need for video connections in such a tablet.
Connecting a Pen Display
The pen display requires a connection for the pen input and picture transmission. Determine if your device uses USB-C, HDMI, or any combination of cables.
In case of the USB-C port, make sure that your computer is capable of supporting the necessary video output protocol. Once you have connected the device, ensure that the display shows up in the display settings of your computer.
Connecting a Standalone Drawing Tablet
A standalone tablet is able to use appropriate drawing programs without a computer. But to use it as a computer connected drawing display, the tablet has to support it as a feature. Look up the instructions from the manufacturer to find the necessary cable and the computer that will be able to connect the tablet to itself. USB-C port alone does not mean anything.
4. A Standalone Drawing Tablet for Flexible Creative Workflows
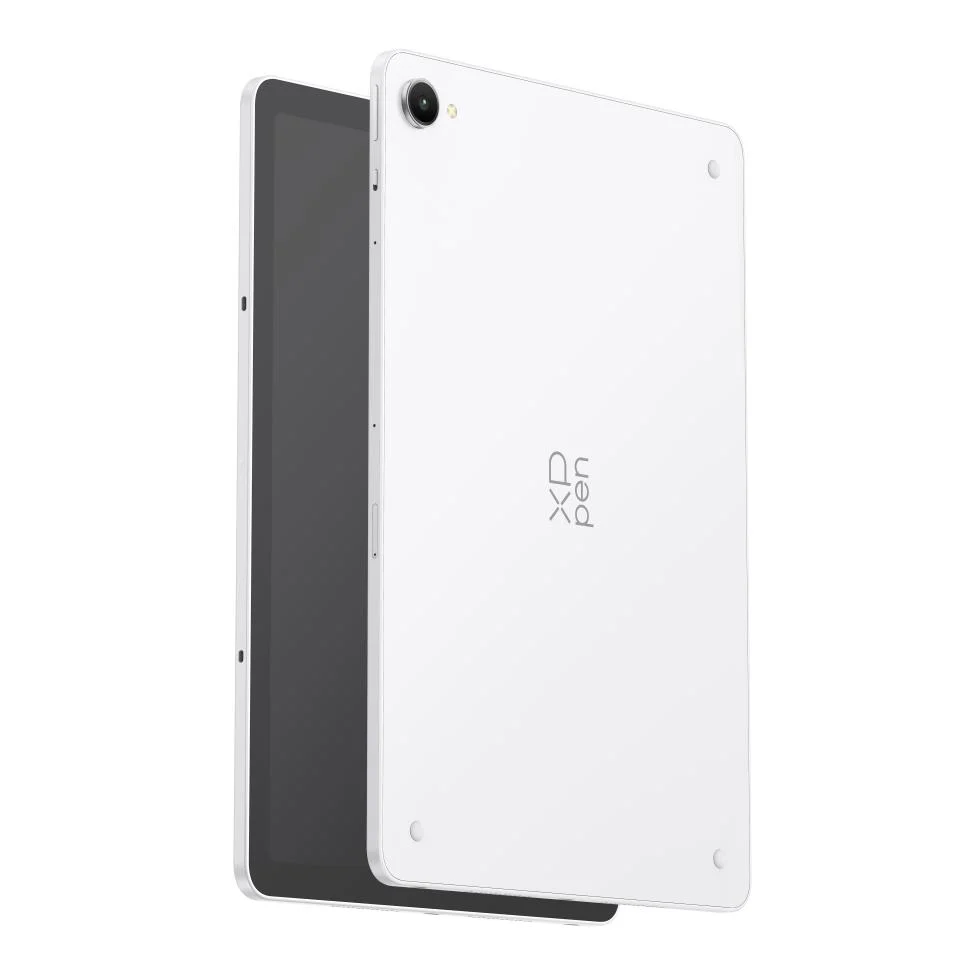
For artists who want to switch between mobile creation and desktop workflows, the XPPen Magic Pro 13 offers standalone operation and a computer-connected Drawing Display Mode. It runs Android 16 and supports compatible drawing applications directly on the device.
If you are considering the XPPen Magic Pro 13 standalone drawing Pad, its dual-mode design is worth noting. You can create artwork independently when away from your desk and connect the device to a compatible computer when your work requires desktop software.
This device is characterized by the 12.95 inch display size with a resolution of 3096 × 2064 pixels and a 120 Hz refresh rate. It is equipped with the X4 Smart Chip Stylus which includes the possibility of using 16,384 pressure levels. The hardware of the device includes the MediaTek Dimensity 8300 processor, 8GB of RAM, and 256 GB of internal memory.
This makes it easier for illustrators, designers, and other digital content creators working in various places to switch between drawing independently and working on a computer. Prior to connecting the device to a computer, it is necessary to make sure that the correct port and cable are used.
5. Common Drawing Tablet Connection Problems and How to Fix Them
Even after following the setup instructions, you may encounter connection issues. Checking each component separately can help identify the cause.
The Computer Does Not Recognize the Tablet
Ensure the cable connection is stable and attempt to use another USB port that supports your device. In case you are using an adapter or hub, try connecting your device to the computer directly.
Secondly, ensure the right driver is installed. In case the tablet is not detected, follow the trouble shooting guide provided by the manufacturer and install the driver.
The Pen Works but Pressure Sensitivity Does Not
Check whether the drawing application supports pressure sensitivity and whether its pen input settings are configured correctly. Test the pen in the tablet’s driver panel to determine whether the problem affects the device itself or only the software.
Restarting the application or resolving conflicting drivers may also help.
The Pen Display Shows No Image
First, inspect the video cable to check that the port on your computer can handle the needed display connection. Next, go to the display settings of the operating system to check whether the external monitor is recognized.
Should the computer require additional video, data or power cables, make sure that all cables are attached properly.
The Tablet Disconnects Repeatedly
Check the cable for damage or disconnected connections. Instability of the USB hub or insufficient power supply can also cause interruptions.
Direct connection to the computer and installation of a new driver will be helpful. Contacting the manufacturer’s support team will help as well.
Conclusion
The process of learning how to connect drawing tablet to PC will involve knowing which type of tablet you have, ensuring that the ports are compatible, installing the correct driver, and testing the functionality of the pen and screen. While pen tablets and pen displays will always need a computer to function, compatible stand-alone tablets can be used on their own.
This will help you create an effective environment for drawing.
